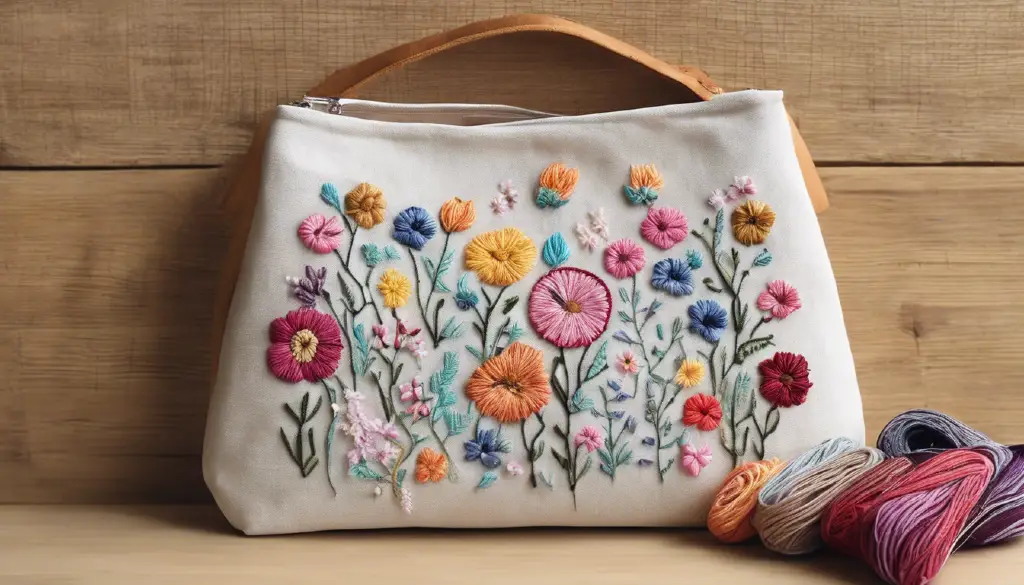
Embroidery, the art of decorating fabric with needle and thread, has found a modern resurgence, prominently showcased on platforms like social media, where the blend of traditional crafts and contemporary designs captivates a wide audience. Within this creative revival, the embroidery bag stands out as a particularly appealing canvas for artisans and hobbyists alike. From tote bags to wallets, the appeal of personalizing or upcycling these everyday items with unique, handcrafted designs speaks to a growing interest in bespoke and artisanal fashion accessories. Moreover, the simplicity with which one can start this craft makes it accessible to beginners, with only minimal tools and materials needed to embark on what can become a fulfilling creative journey.
This article will delve into the basics of creating simple hand embroidery designs for bags, encompassing a variety of styles suitable for beginners. Initial sections will cover the essential embroidery tools and materials, including needles, fabrics (especially for tote bags, backpacks, and wallets), and batting, along with a guide to the basic stitches that form the foundation of most designs. Subsequent parts will explore inspiring patterns, from florals and animals adorning purses to geometric shapes enhancing the appeal of backpacks, not to mention seasonal and holiday motifs that add a timely charm. Care and maintenance tips will ensure that these embroidered treasures remain in beautiful condition, culminating in a conclusion that reflects on the joy and satisfaction derived from this craft.
Essential Embroidery Tools and Materials
Must-Have Tools
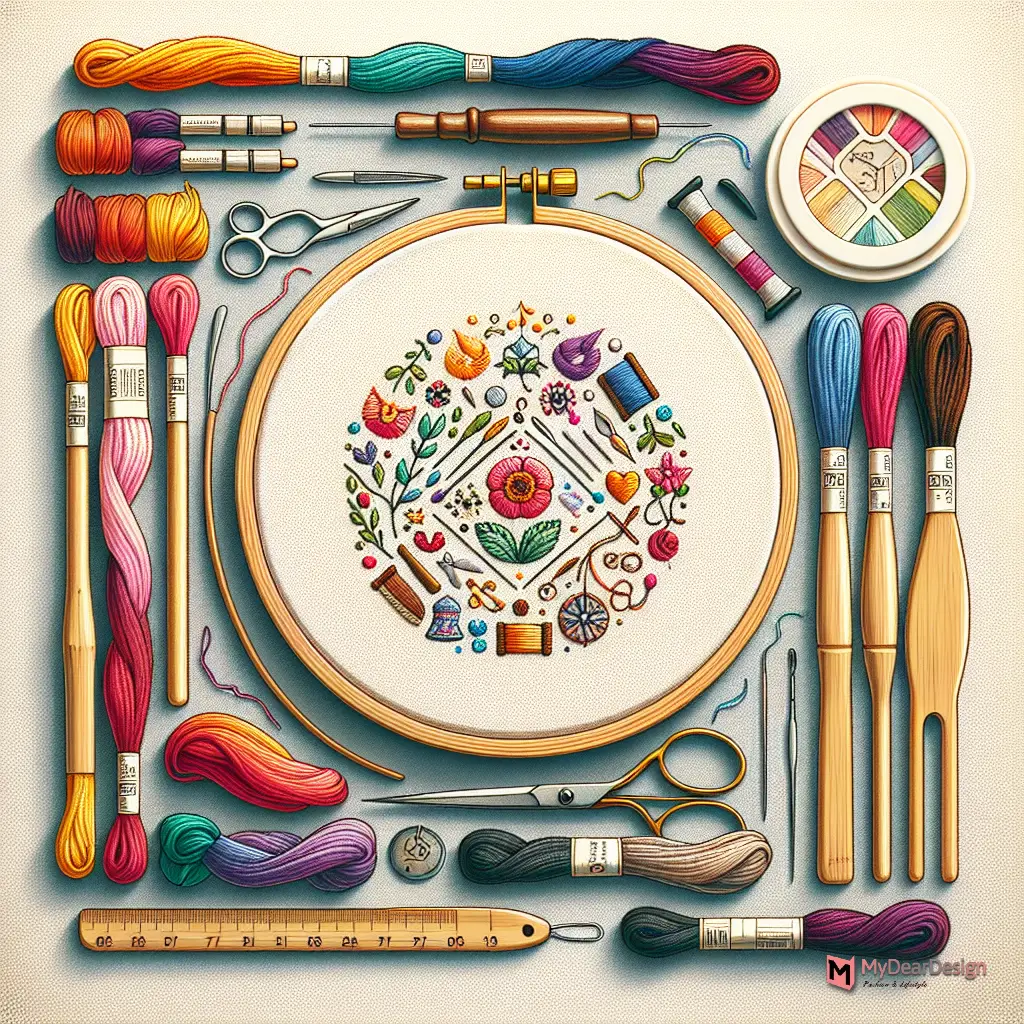
Embroidery requires a variety of tools to ensure a smooth and enjoyable process. A basic kit for beginners might include a bamboo embroidery hoop to keep the fabric taut, a set of colorful threads, embroidery needles, a pair of scissors, needle threaders, and a seam ripper. These tools are essential not only for starting a project but also for making adjustments and corrections along the way. Additionally, many kits come with pre-designed floral patterns on the fabric, which can be washed off once the embroidery is complete, providing guidance and inspiration for beginners.
Types of Threads
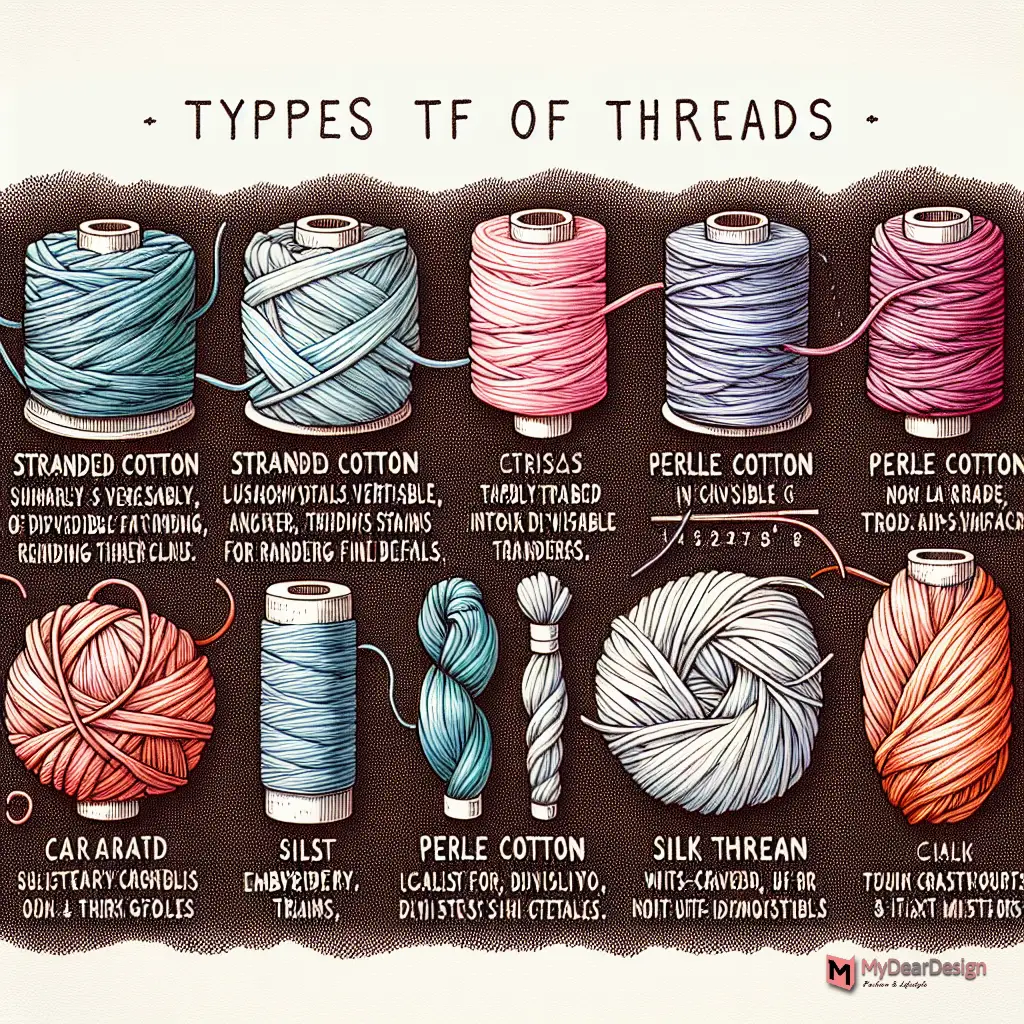
Choosing the right thread is crucial for achieving the desired effects in embroidery. Threads vary by type, weight, and material, offering a range of possibilities for creative expression. Common types include stranded cotton or embroidery floss, which is versatile and easily divisible into thinner strands for finer details. Perle cotton offers a twisted, non-divisible option with a unique texture. For those seeking a softer and more luxurious thread, silk options provide fine strands ideal for blending colors seamlessly. Additionally, synthetic threads like polyester offer durability and vibrant colors that can add a special touch to any project.
Choosing the Right Fabric
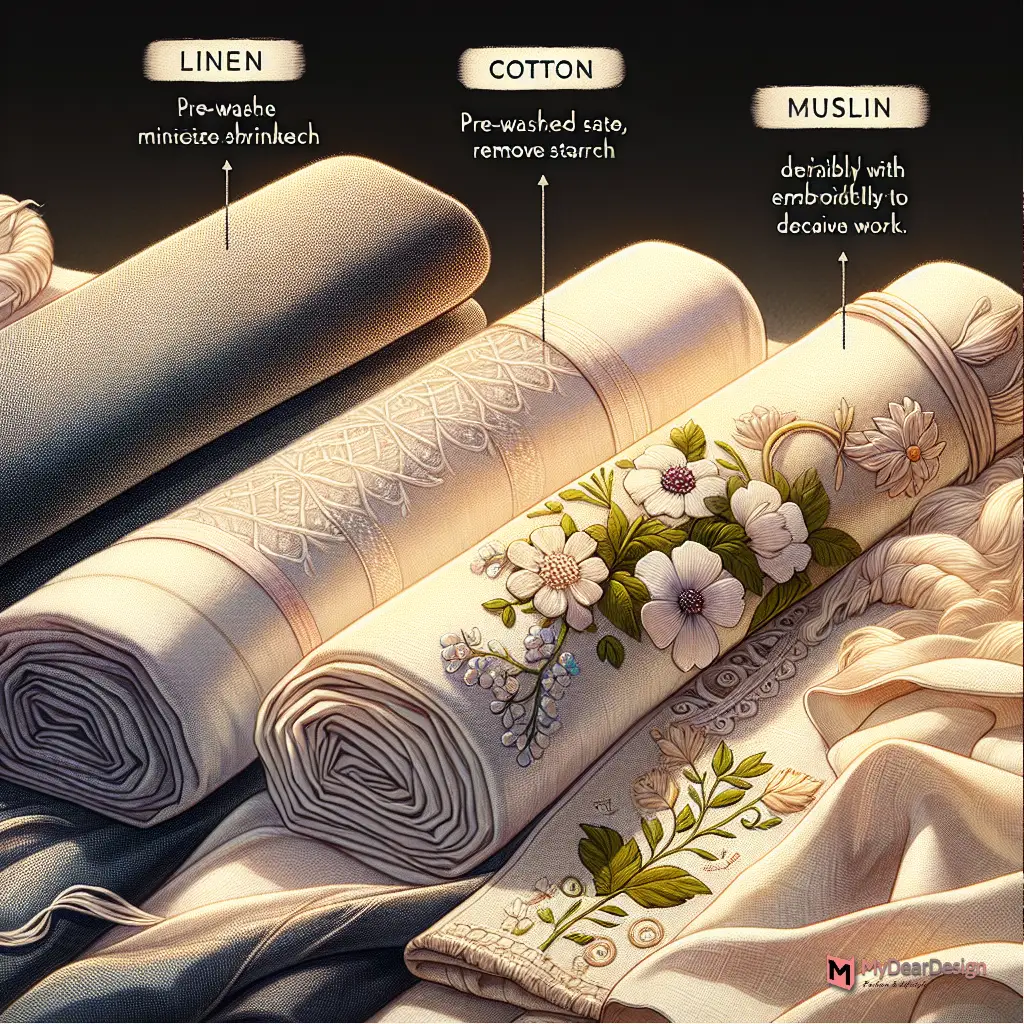
The fabric serves as the foundation of any embroidery project and influences the overall outcome. Natural fabrics like linen and cotton are preferred for their ease of use and compatibility with various embroidery techniques. These fabrics should be pre-washed to minimize shrinkage and remove any starch that could hinder the embroidery process. For projects requiring more detailed work, fabrics with a lower thread count like muslin, are recommended as they allow easier needle penetration. When selecting a fabric, consider the type of embroidery and the level of detail required to ensure the best results.
By understanding and utilizing the appropriate tools, threads, and fabrics, beginners can embark on their embroidery journey with confidence, creating beautiful and lasting designs on bags and other items.
Basic Embroidery Stitches for Beginners
Backstitch
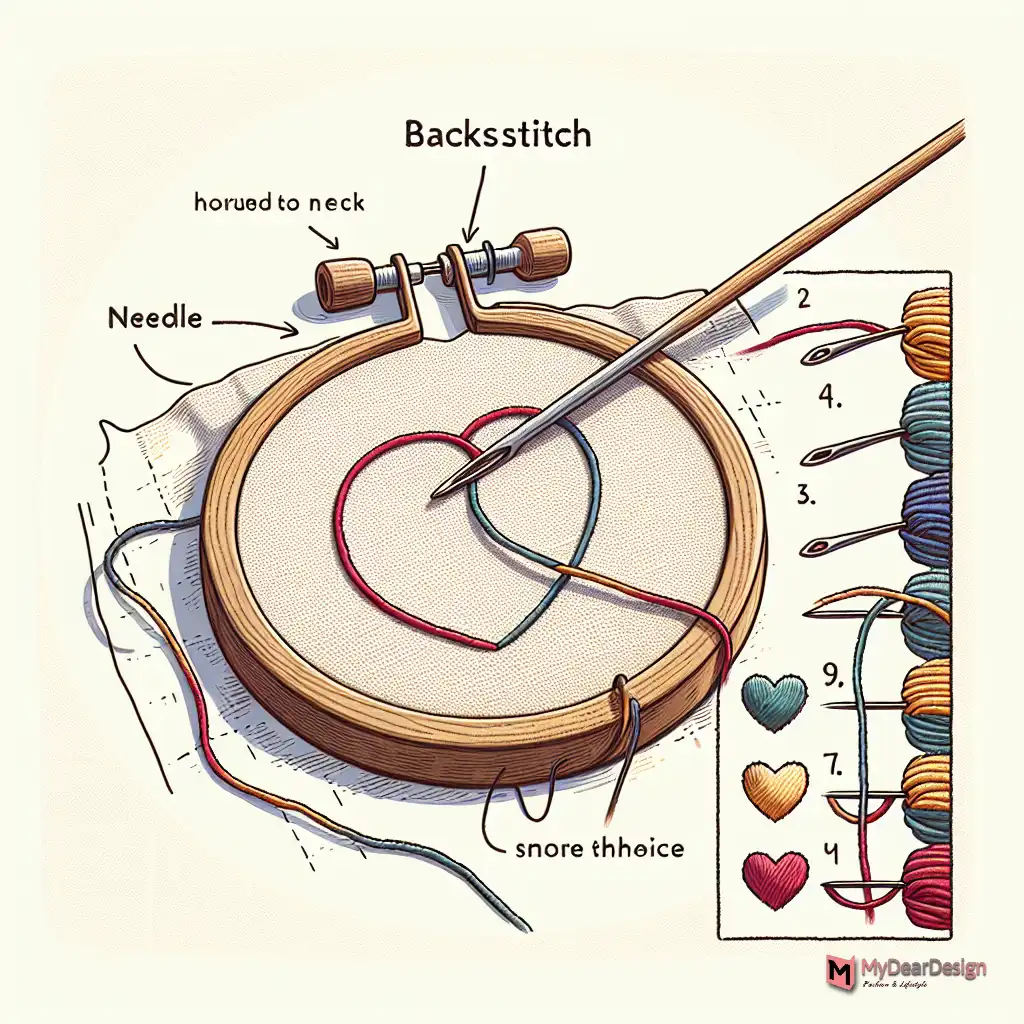
The backstitch is fundamental for creating clean, continuous lines and is especially useful for outlining shapes in embroidery designs. To perform a backstitch, one should start by bringing the needle up from the back of the fabric, move forward by the length of one stitch, and then insert the needle back into the end point of the previous stitch. This stitch is praised for its strength and durability, making it ideal for detailing in embroidery projects. It is particularly effective for lettering and defining the edges of shapes due to its precise and segmented appearance, often likened to a string of beads.
Running Stitch

Beginners in sewing often learn the running stitch first due to its simplicity and multiple uses. this stitch consists of threading the needle through the cloth at even spaces, which looks like a line of dashes. It’s perfect for fast and easy sewing tasks and is the foundation for harder stitches. You can change the running stitch for bunching cloth or making fancy designs and textures. Since it’s simple to do and you can change the length of the stitches, both new and experienced sewers like it a lot.
French Knots

French knots add a delightful texture and dimension to embroidery designs, perfect for creating small, dense dots that stand out on the fabric. The technique involves bringing the needle up through the fabric, wrapping the thread around the needle several times, and then pushing the needle back down near the initial point. Mastery of French knots requires understanding the tension of the wraps; too tight, and the needle struggles to pass through, too loose, and the knot may not form correctly. With practice, however, French knots can become a decorative staple in an embroiderer’s repertoire, adding a pop of detail to any project.
Designing Your Embroidery Pattern
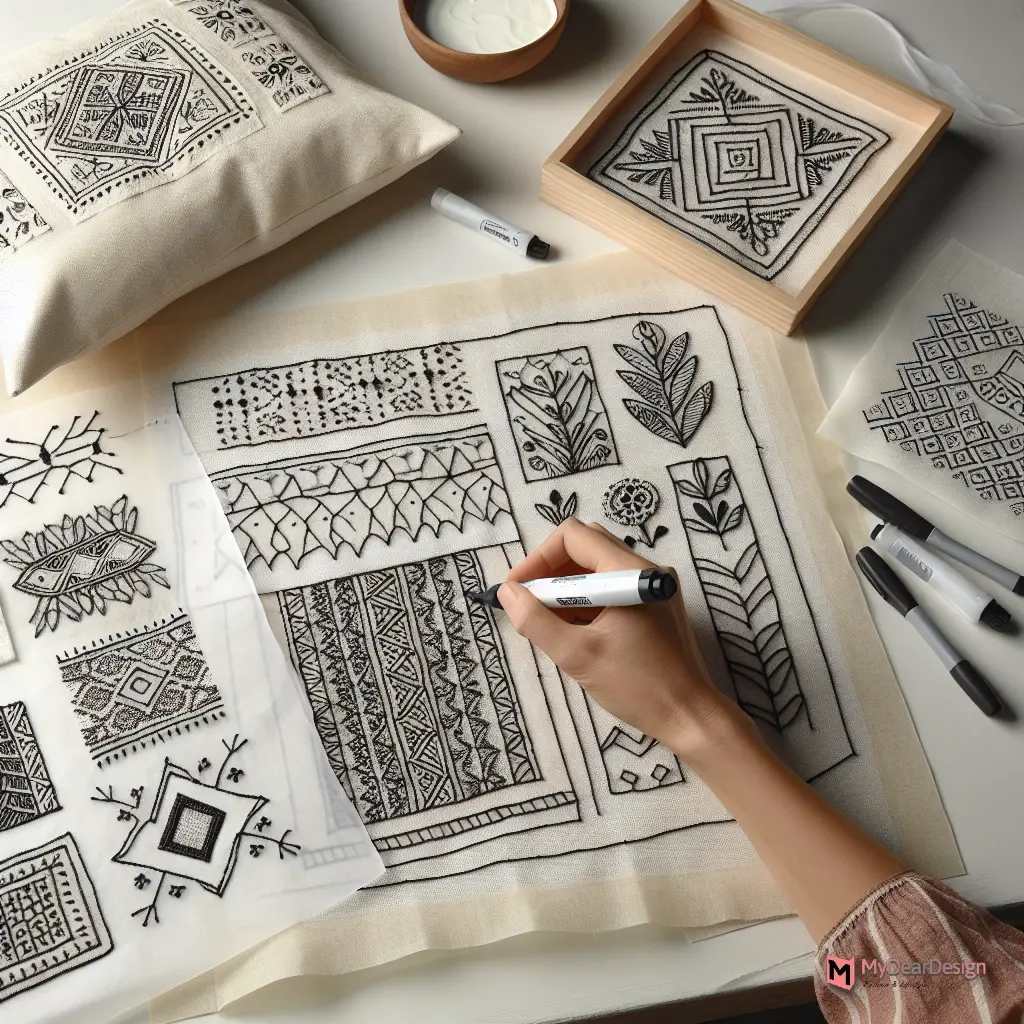
Creating simple patterns for embroidery bags involves understanding the basics of design and applying them to the fabric. Beginners might start with basic shapes and motifs, which can be drawn directly onto the fabric using a water-soluble marker or traced through tissue paper for more complex designs. This method ensures accuracy and allows for adjustments before the stitching begins.
Using Templates and Tracings

Templates and tracings are invaluable tools for transferring embroidery designs onto fabric, especially for those who are new to the craft. One effective method is to use tissue paper, where the design is traced onto the paper and then tacked onto the fabric with small stitches. This technique is particularly useful for dark fabrics where other tracing methods may not be visible. After stitching, the tissue paper is gently removed, revealing the design transferred onto the fabric, ready for embroidery.
Incorporating Personal Touches
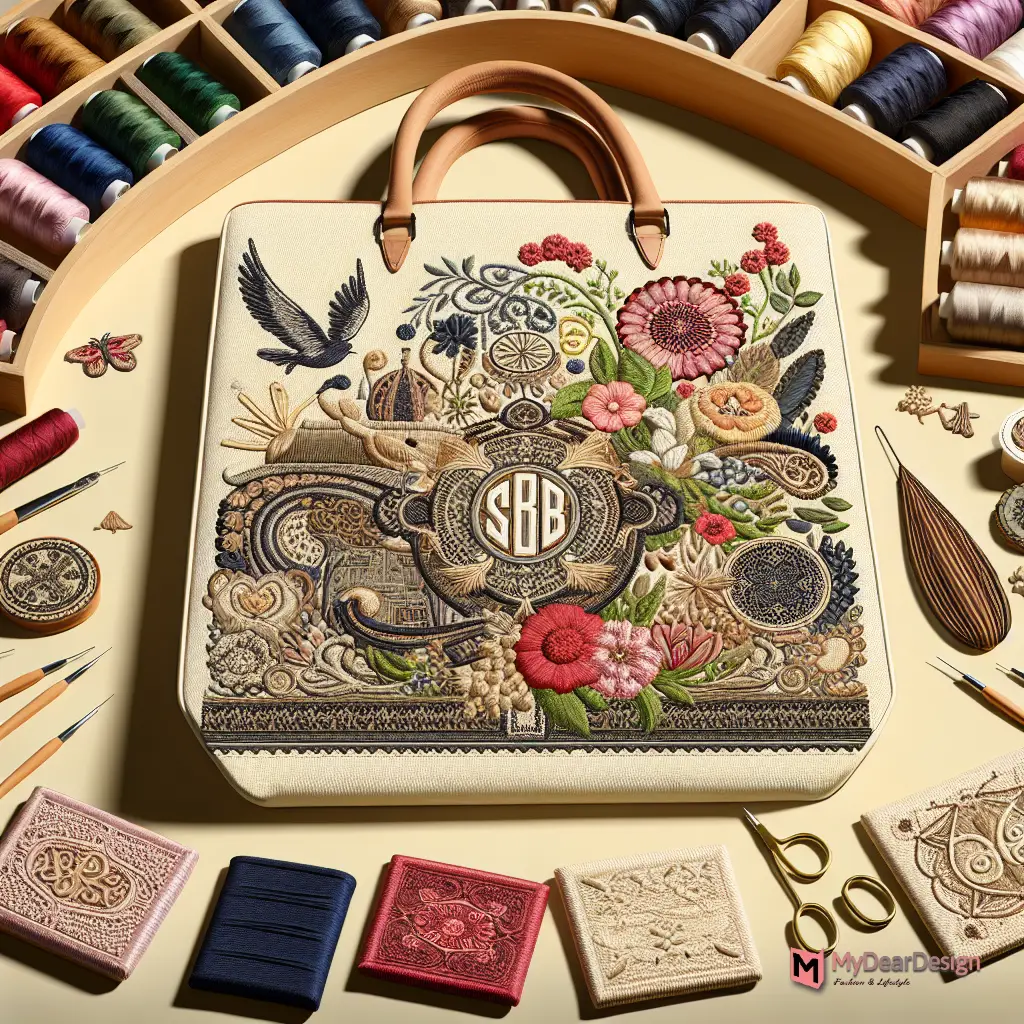
Personalization in embroidery allows for a unique expression of style and creativity. Embroiderers can add monogrammed initials, bespoke motifs, or even intricate floral patterns to their bags. This customization not only enhances the aesthetic appeal of the bag but also adds a personal touch that reflects the individual’s taste and personality. Selecting thread colors and deciding on the placement of the design are crucial steps in this process, ensuring that the final product is both beautiful and meaningful.
In conclusion, designing your embroidery pattern involves a blend of creativity and technique. From choosing the right tools and materials to applying unique personal touches, each step contributes to creating a handcrafted piece that stands out. Whether you are a beginner or an experienced embroiderer, these guidelines will help you embark on your embroidery journey with confidence and style.
Floral Embroidery Designs for Tote Bags
Simple Flower Patterns
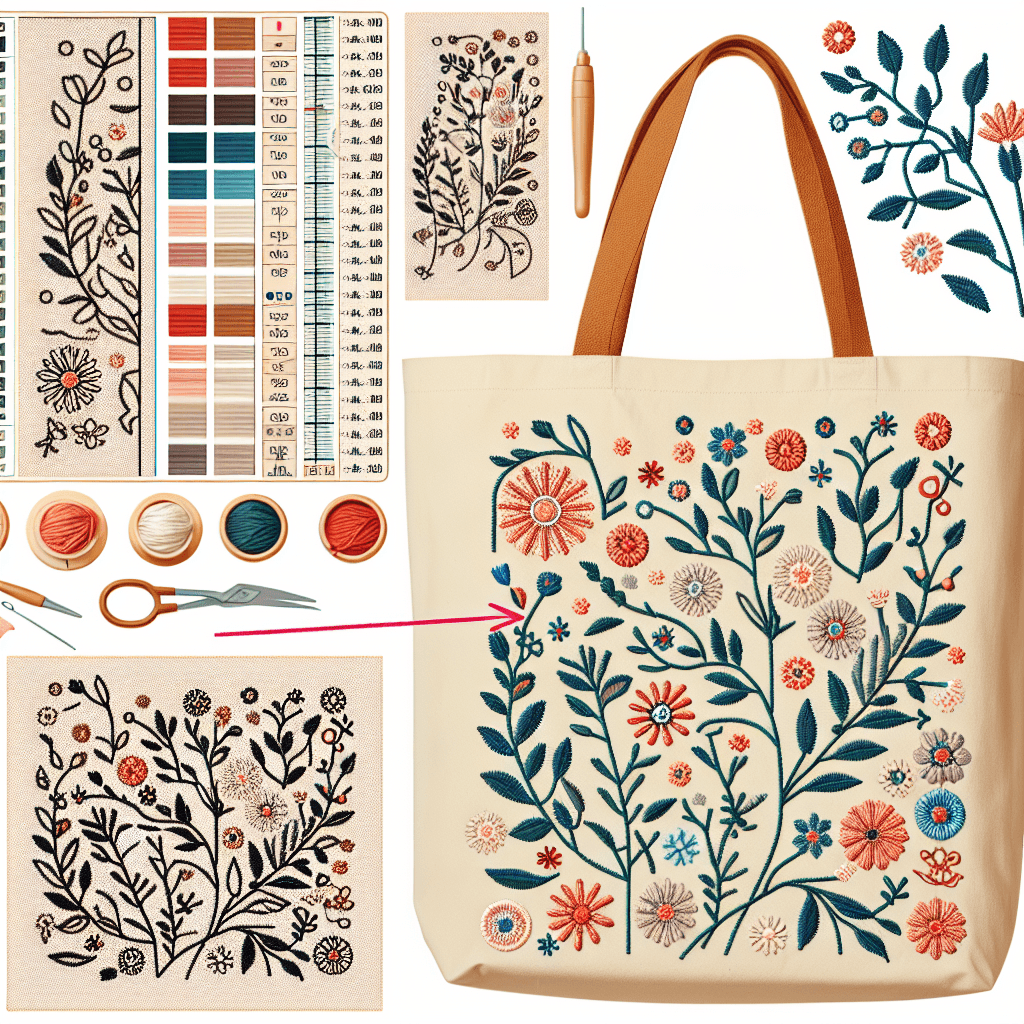
Embroidery enthusiasts can explore the charm of simple flower patterns, which are perfect for beginners looking to adorn tote bags. A popular choice, as seen in designs like the “Winding Vines in Organic Colors Tote Bag” by Beth Baxter, incorporates natural elements into the embroidery, adding a touch of warmth and nature to everyday accessories. These patterns often feature a tapestry of small, interconnected floral elements that are both aesthetically pleasing and easy to execute.
Adding Leaves and Vines
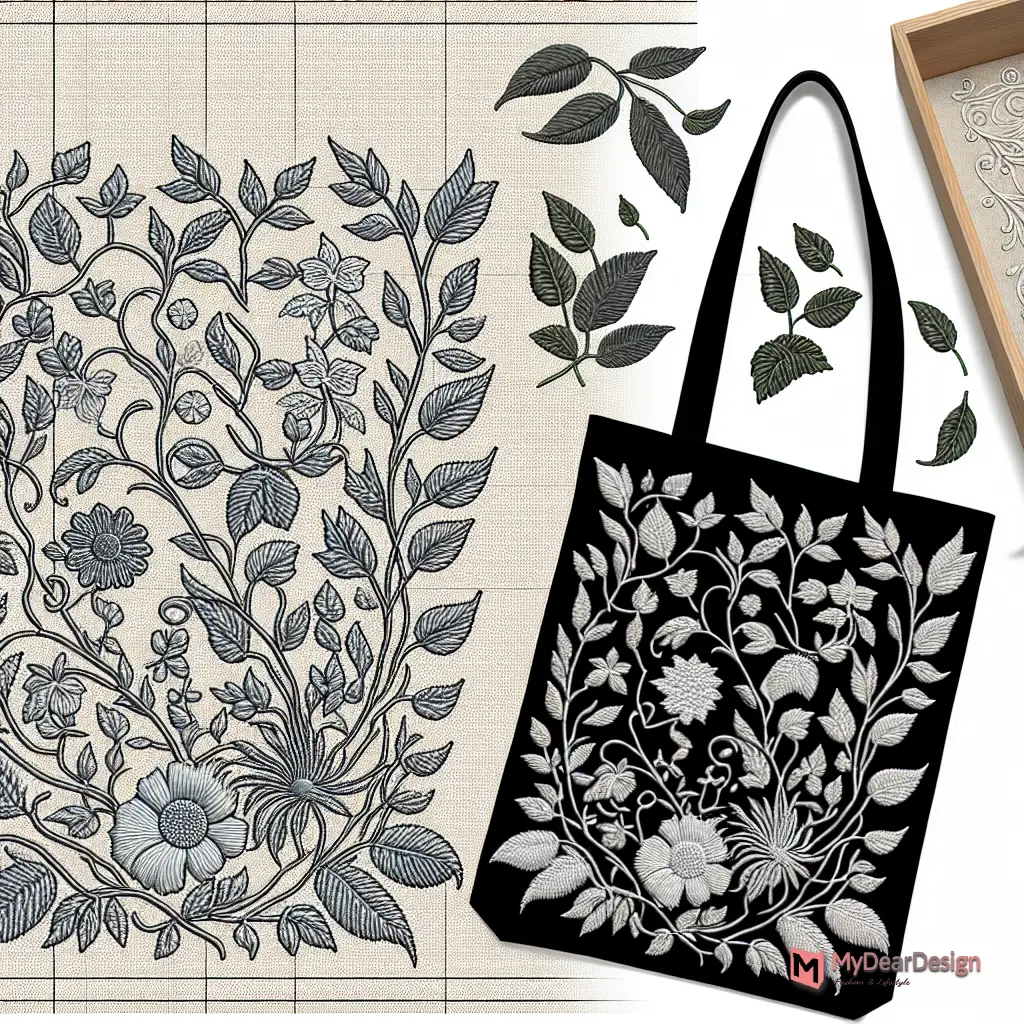
To complement the floral motifs, adding leaves and vines can enhance the overall design, creating a more cohesive and intricate appearance. The technique involves embroidering slender vine patterns that wind across the fabric, often used as borders or to frame the central floral designs. This approach not only beautifies the tote bag but also gives it a handcrafted, bespoke look that is highly sought after in the world of DIY fashion.
Color Blending Techniques
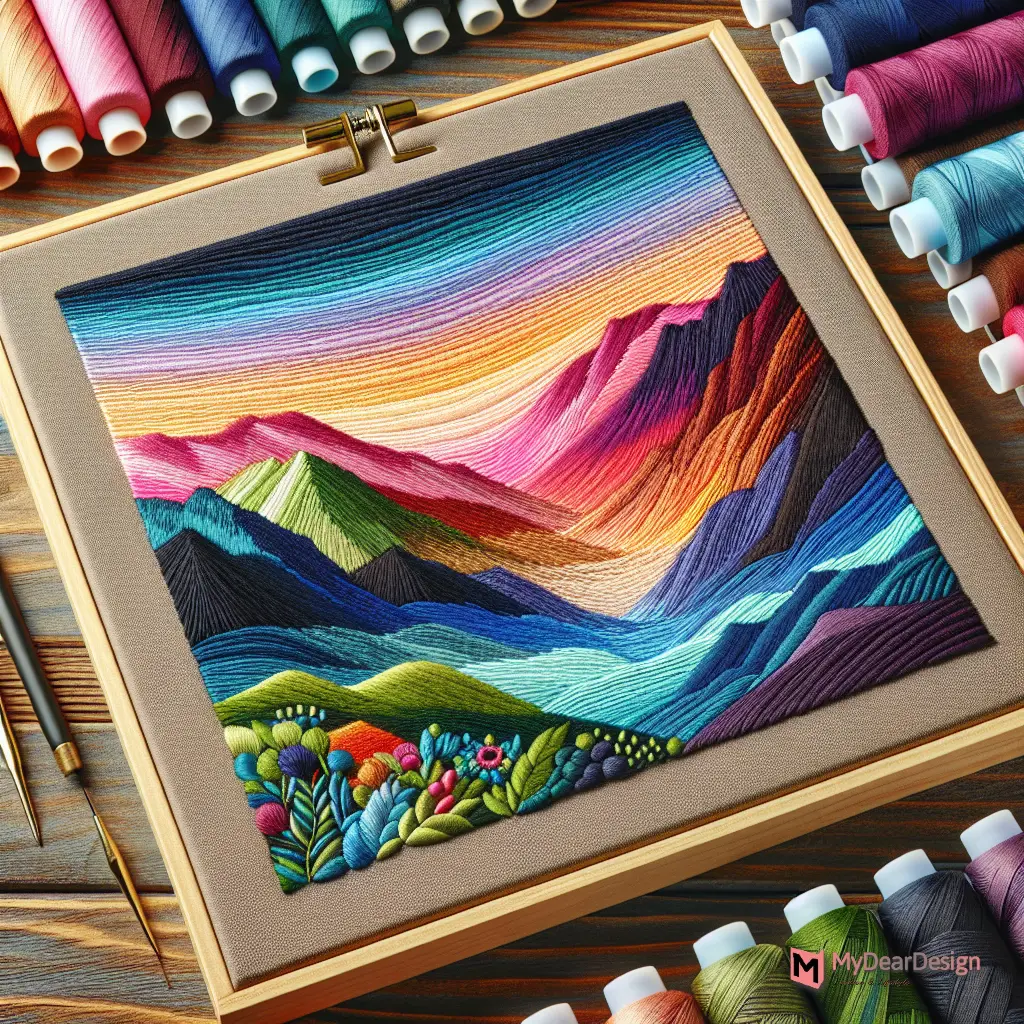
Mastering color blending techniques can significantly elevate the look of embroidered tote bags. The art of seamlessly merging colors, as discussed in various embroidery forums, involves choosing the right shades and understanding how to transition between them effectively. For instance, using a long and short stitching technique can create a smooth gradient, making the embroidery appear more dynamic and vibrant. This method is particularly useful for depicting natural elements like flowers and leaves, where the subtle transition of colors can mimic the natural shading of petals and foliage.
Animal Embroidery Designs for Purses
Cute Animal Faces
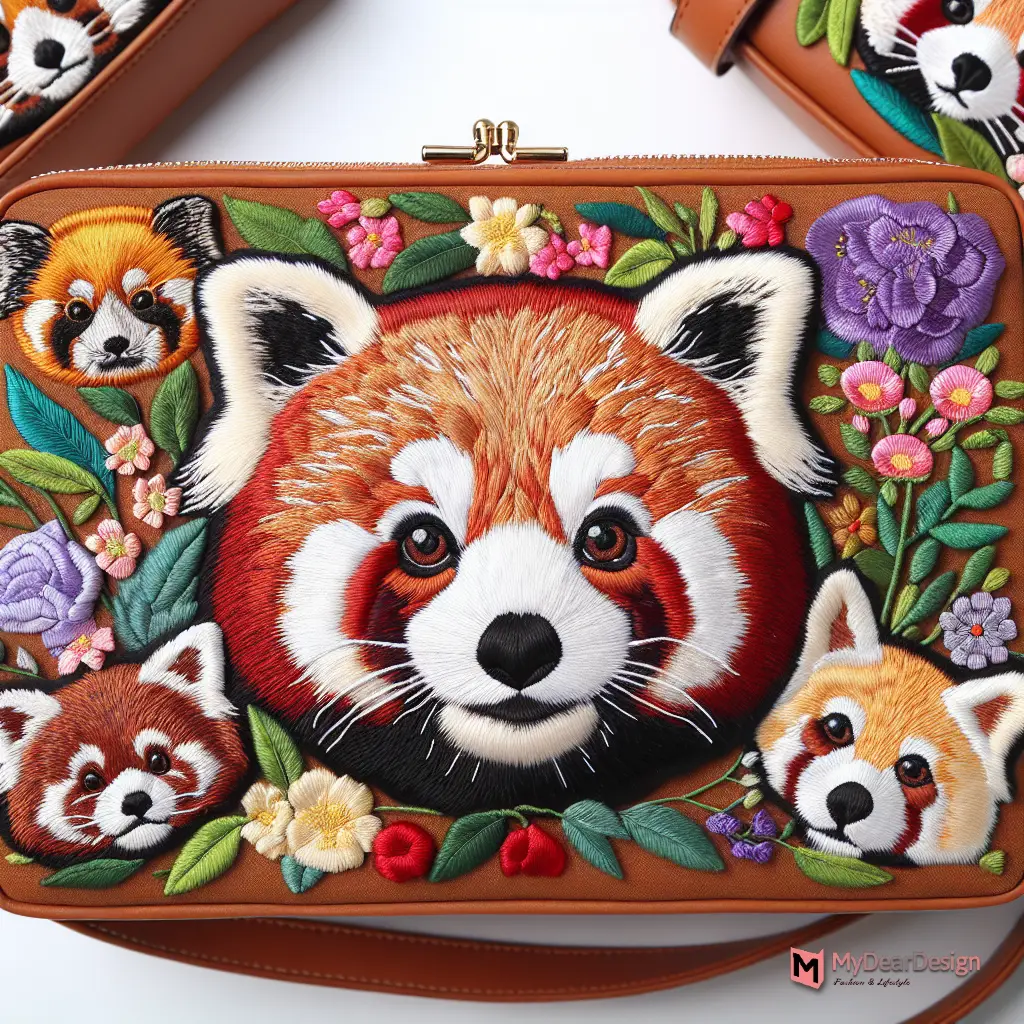
Embroidery artists can capture the charm of wildlife through designs like the Beautiful Floral Red Panda Machine Embroidery Design, which combines the allure of woodland animals with vibrant floral settings. This design not only enhances the visual appeal of purses but also adds a whimsical touch, making each piece unique and personal. Similarly, designs that incorporate the delicate features of animals, such as the detailed expressions and seasonal changes, can transform a simple purse into a stunning accessory.
Paw Prints
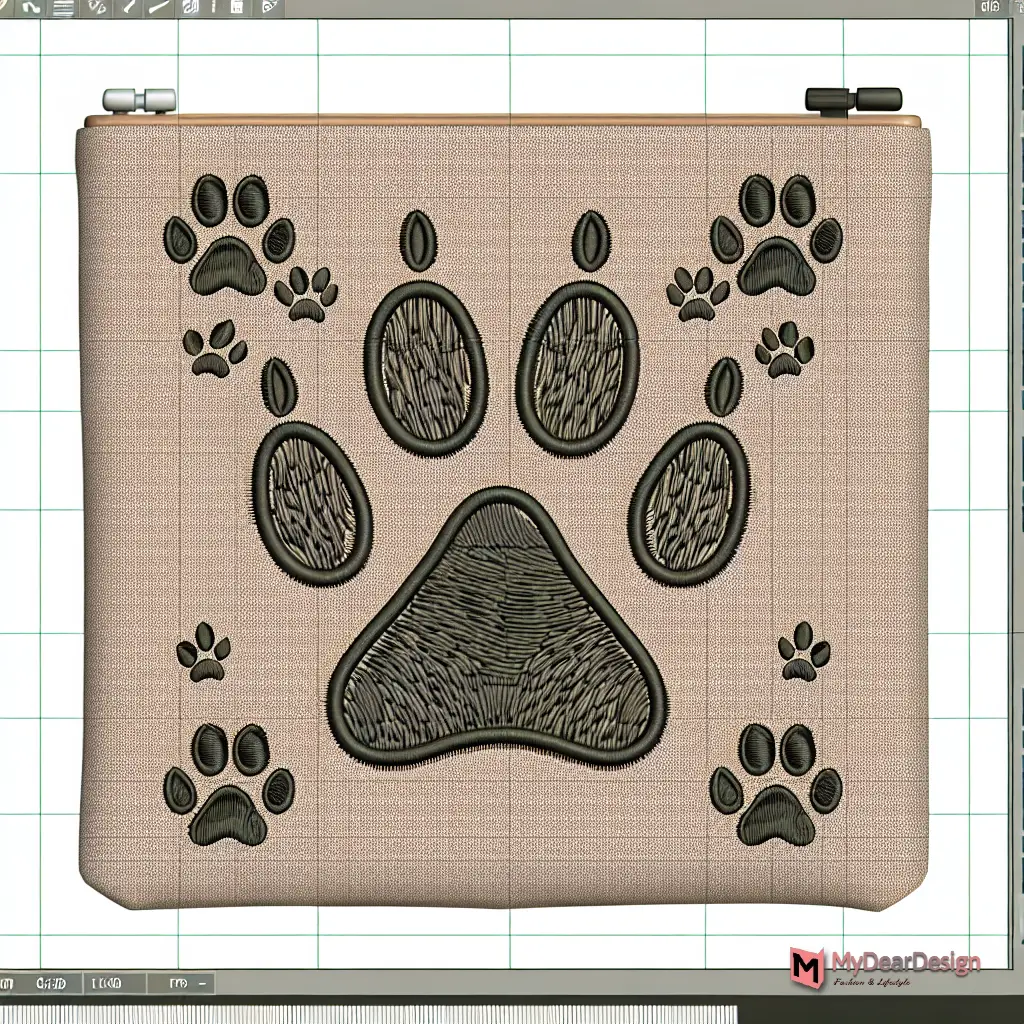
For those who prefer a more subtle yet equally endearing design, paw print patterns offer an excellent choice. The Dog Paw design for machine embroidery is available in multiple sizes, making it versatile for various purse sizes. This design can be elegantly simple or intricately detailed with the addition of beads or other decorative elements, providing a custom look that animal lovers will cherish.
Combining Animals with Floral Elements
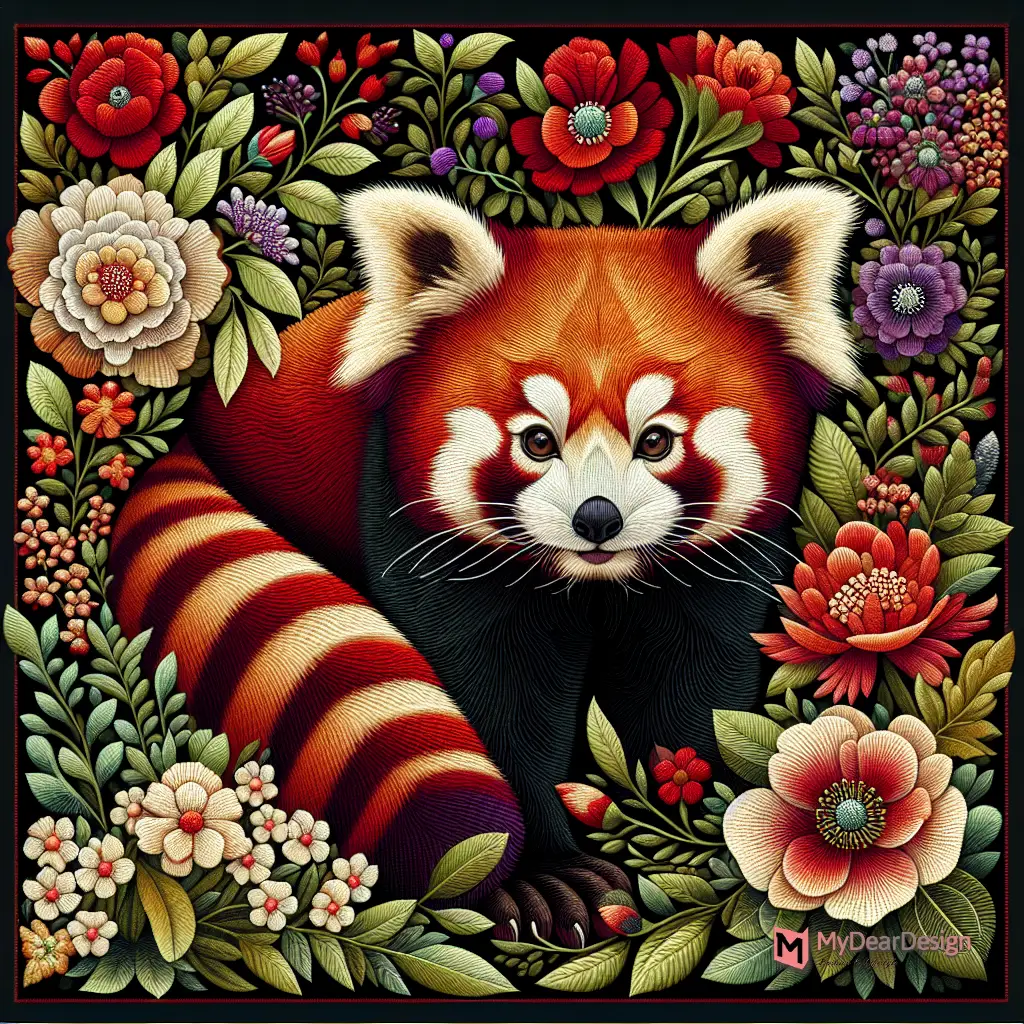
Integrating animals with floral elements creates a sophisticated blend of nature and artistry. The Red Panda Embroidery Artwork is a prime example, where the enchanting panda is set against a lush floral backdrop, offering a piece that is both elegant and eye-catching. These designs often involve intricate stitching and careful attention to color blending, which can be particularly appealing to those who appreciate detailed craftsmanship in their accessories.
Geometric Embroidery Designs for Backpacks
Symmetrical Patterns
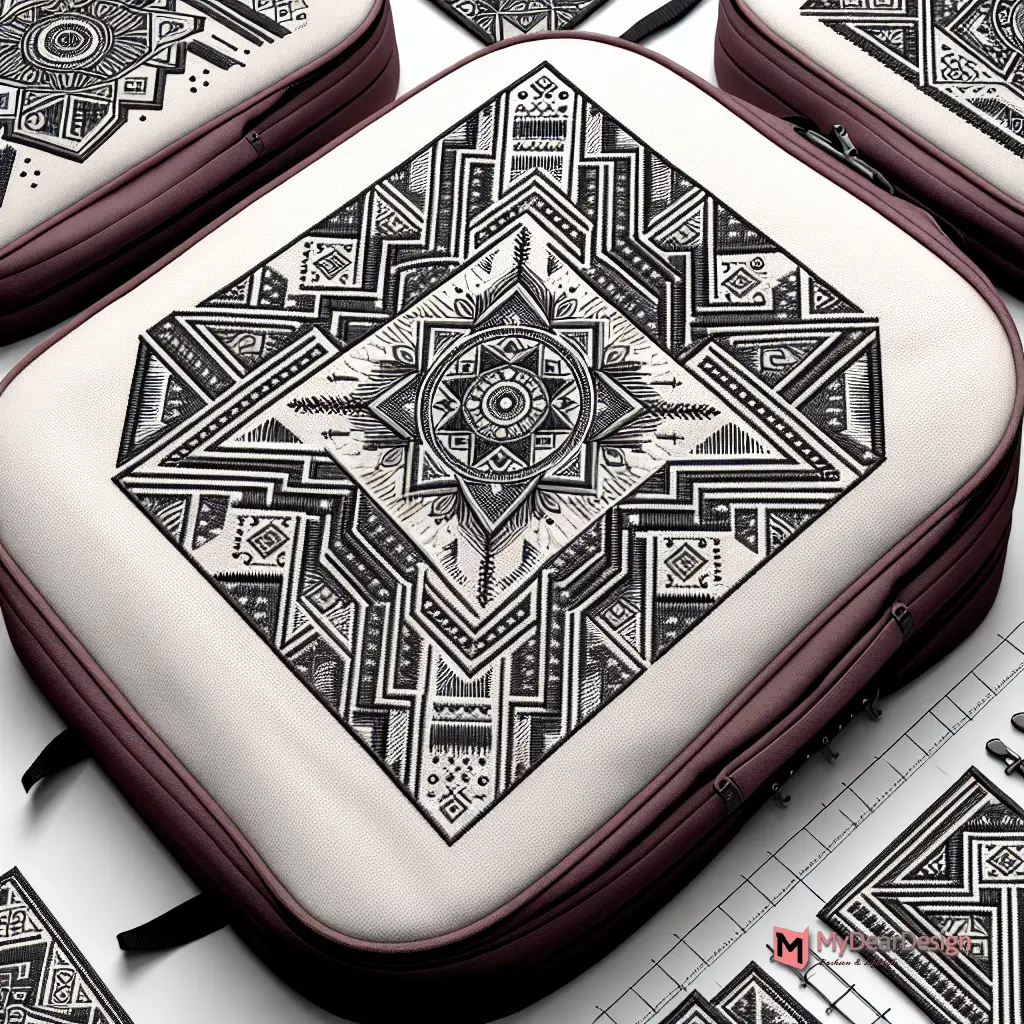
Symmetrical patterns are a popular choice for geometric embroidery on backpacks. These designs typically feature repeating shapes or motifs that are mirrored across a central axis, creating a visually balanced and harmonious look. The symmetry not only enhances the aesthetic appeal but also contributes to a sense of order and precision in the design.
Using Grid Lines
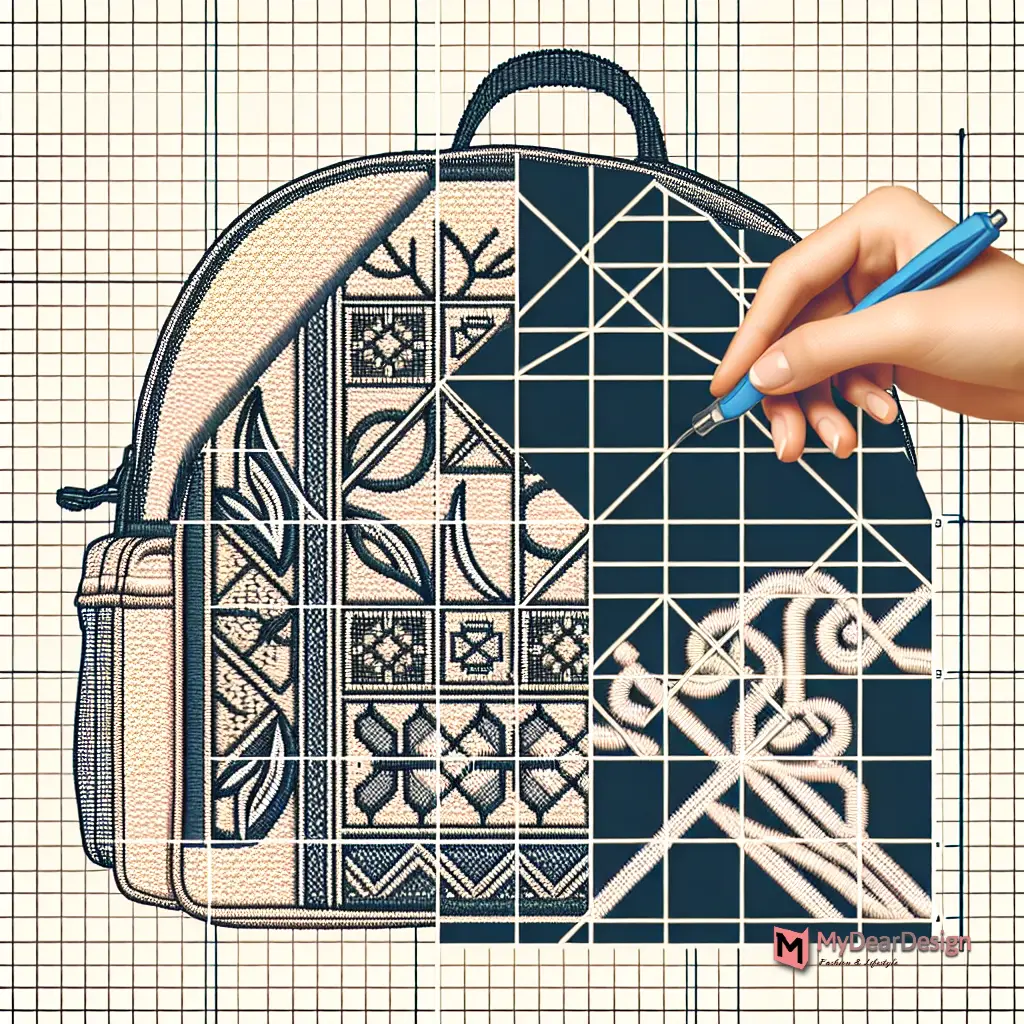
Grid lines can be effectively utilized as a guide when stitching geometric embroidery patterns on backpacks. This technique involves dividing the fabric into a grid and stitching along these lines to form the desired shapes and patterns. The grid helps maintain the precise alignment and proportions of the design, ensuring a polished and professional finish.
Modern and Minimalist Styles
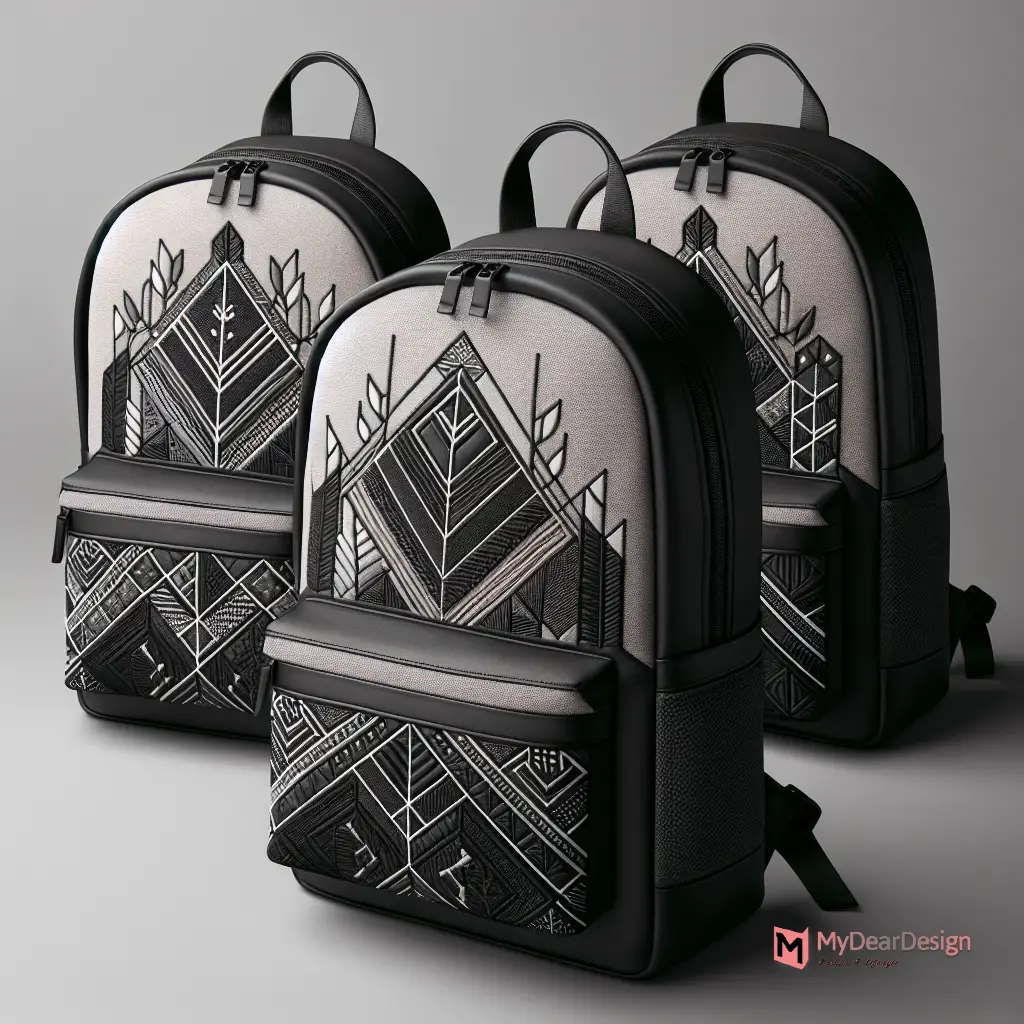
For those seeking a contemporary and sleek look, geometric embroidery designs with clean lines, simple shapes, and a limited color palette are ideal. These styles often embody a minimalist aesthetic that complements various backpack styles, making them suitable for both casual and formal settings. The use of minimal colors and straightforward designs not only emphasizes modernity but also highlights the craftsmanship of the embroidery.
Seasonal and Holiday Embroidery Designs
Christmas Motifs

Embroiderers around the globe embrace the festive spirit of Christmas by incorporating unique and heartwarming designs into their projects. Simple Christmas tree motifs and elaborate wreaths are popular choices, offering a range of festive themes suitable for beginners and experienced stitchers alike. For a charming holiday touch, consider patterns like the Party Penguin Hoop or the cozy Christmas holiday sweater, which are perfect for decorating home accessories or creating personalized gifts.
Spring Themes
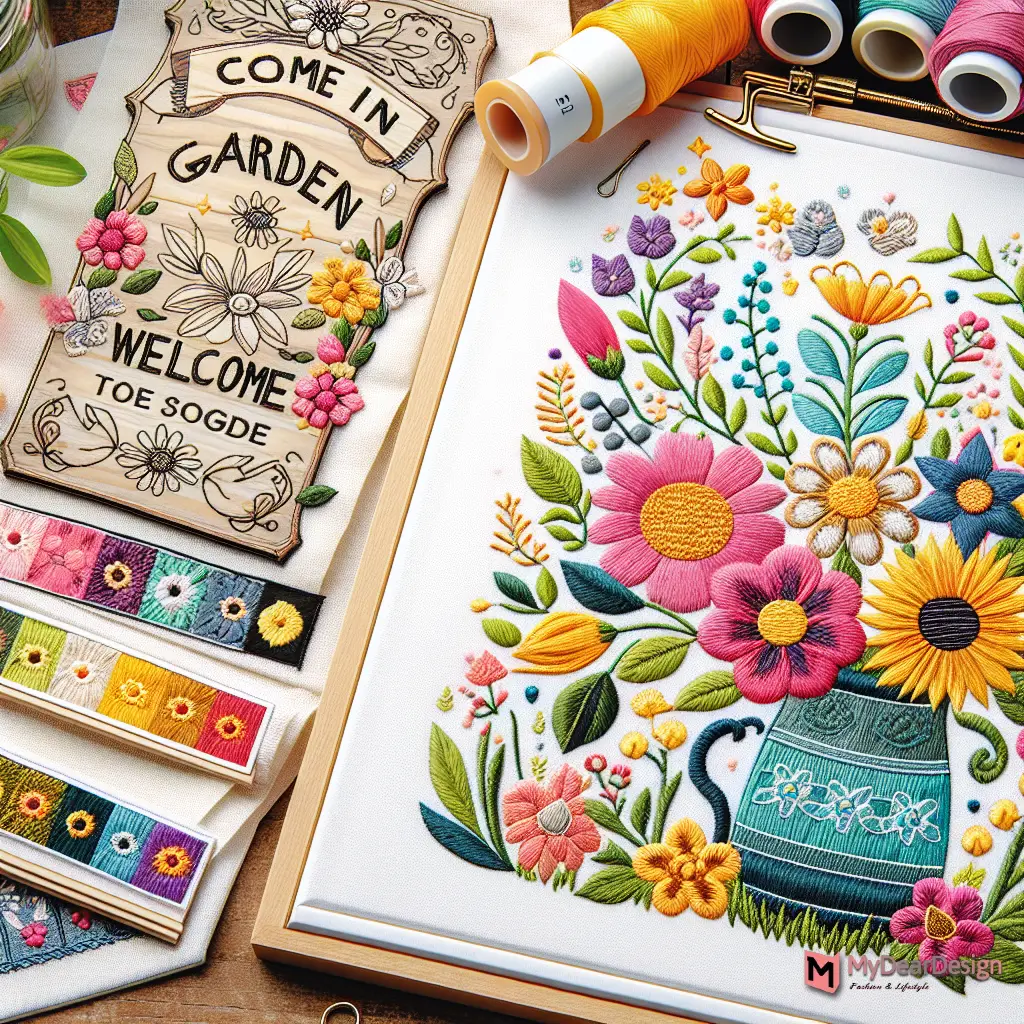
Spring offers a refreshing palette of designs, ideal for infusing new life into embroidery projects. The “Spring Bouquet” patterns, whether hand or machine embroidered, are delightful choices that welcome the season with vibrant flowers and cheerful colors. For those looking to add a whimsical touch to their garden or home entrance, the “Come In Garden Welcome Sign” provides a fun and inviting design option.
Special Occasion Ideas
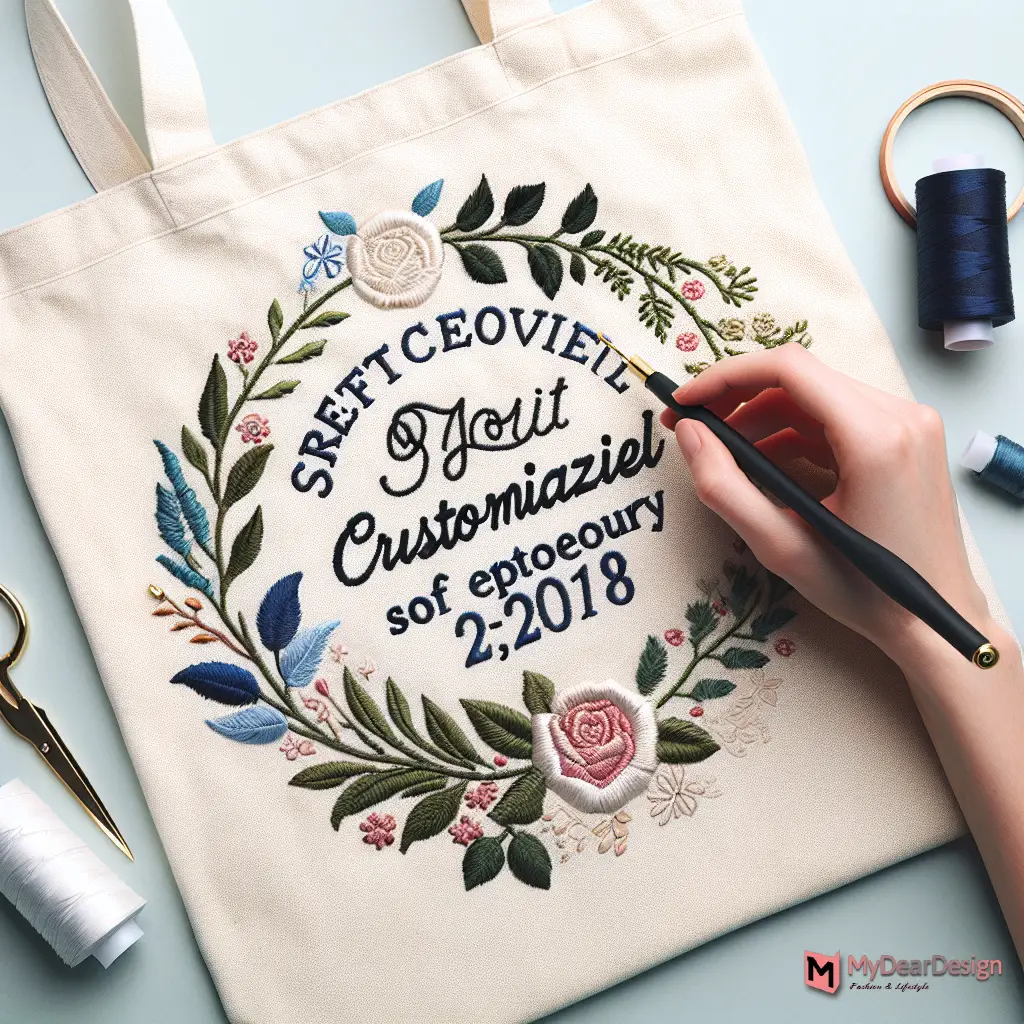
Embroidery can also celebrate special occasions beyond the traditional holidays. Customized embroidered tote bags with names or special dates make for thoughtful and elegant gifts, adding a personal touch to any celebration. For events such as anniversaries or milestone birthdays, incorporating personalized elements like the date or a meaningful quote into the design can make the gift even more special and cherished.
Caring for Your Embroidered Bags
Proper Washing Techniques
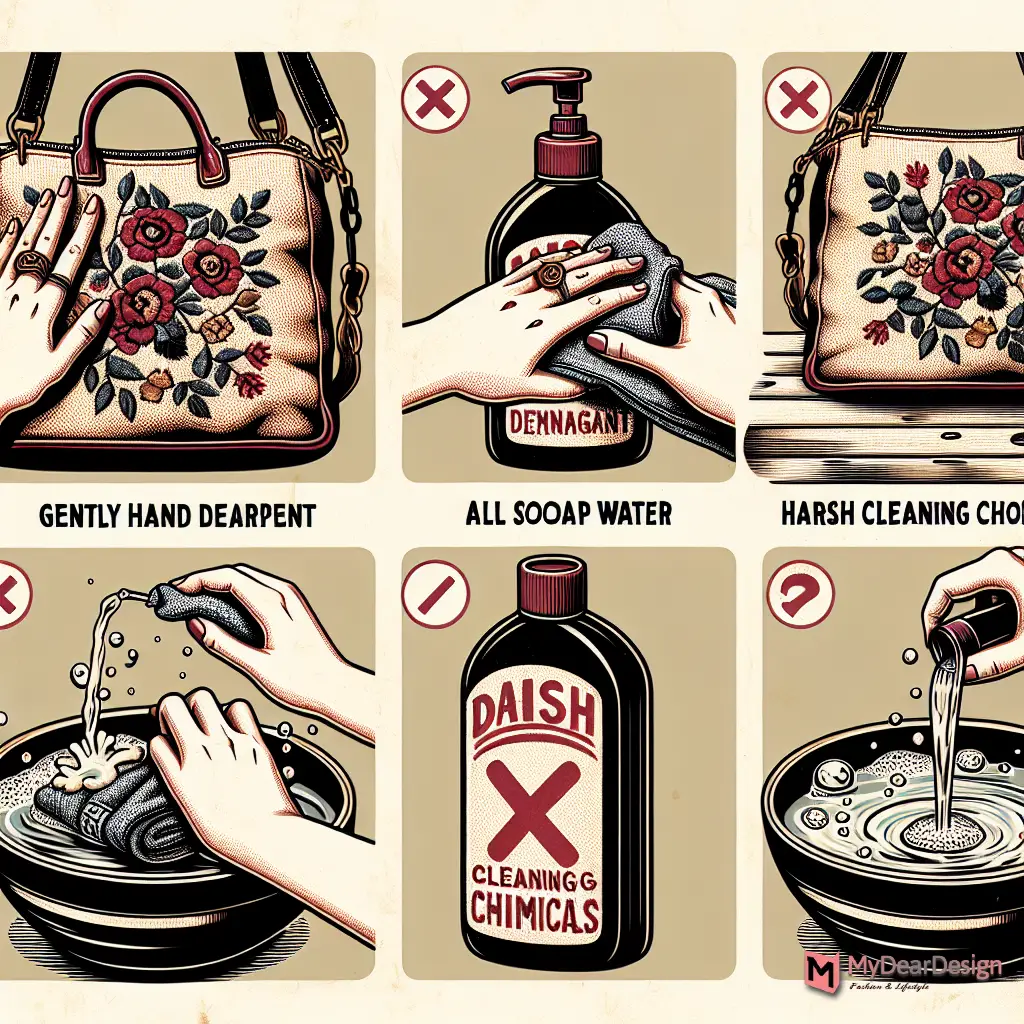
Embroidered bags require careful handling during cleaning to maintain their quality. It is recommended to hand-wash these items using a mild detergent or dish soap to prevent damage. The use of harsh chemicals should be avoided, and it is best to clean only when necessary. For items like embroidered household linens or accessories that must be washed, they should never be dried in a dryer. Instead, laying them flat or hanging them to dry is advised to preserve the integrity of the embroidery.
Storage Tips

Storing embroidered items properly is crucial to avoid damage. Embroidered works should not be folded but rather laid flat or rolled on an acid-free cardboard tube to prevent creases. It is important to avoid plastic containers, as they do not allow the fabric to breathe, potentially leading to mildew or odors. Instead, using acid-free tissue paper or white linen to line drawers or archival boxes is recommended. This prevents discoloration from wood or other materials that might come in contact with the embroidery.
Repairing and Maintaining the Embroidery
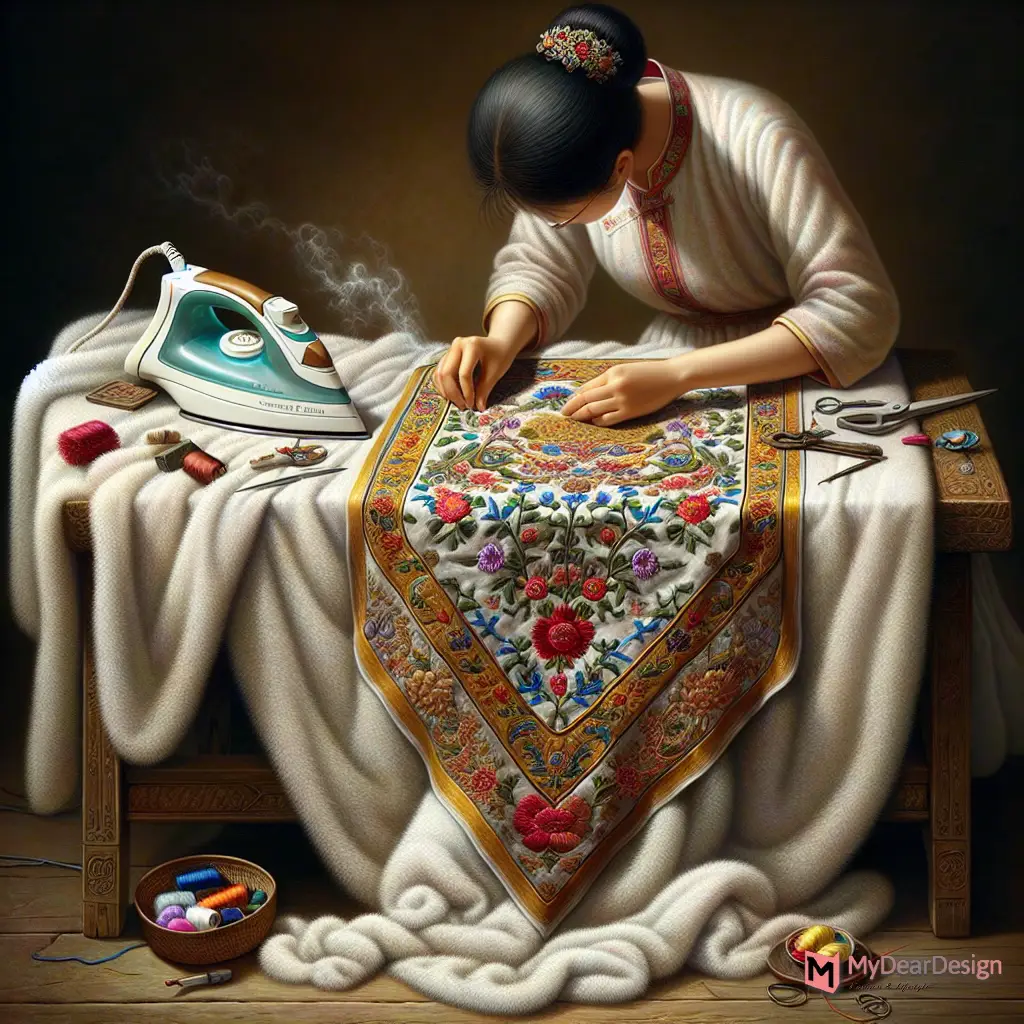
Maintaining the appearance and durability of embroidery involves careful ironing and timely repairs. When ironing, it is crucial to use a soft white towel under and over the embroidered piece to protect it from heat. The iron should be set to a light steam setting and should not be moved back and forth over the embroidery. For repairs, loose threads should not be pulled but instead trimmed or woven back into the fabric to prevent further unraveling. Using fabric glue or a stabilizer patch can also help secure loose threads and prevent damage.
Conclusion
Embarking on the journey of creating simple hand embroidery designs for bags opens a world of creativity and personal expression. In this piece, we looked at the fine points of stitching designs on tote bags, backpacks, and wallets. We pointed out how picking the right cloth and using batting to add firmness are essential. The resurgence of handcrafted embroidery on social media platforms has not only highlighted the timeless charm of this art but also its relevance in today’s fashion-forward society. By showcasing a variety of techniques and styles, from the foundational stitches to the intricate blending of colors, we invite both beginners and seasoned crafters to delve into the rewarding practice of embroidery, making each creation uniquely their own.
As we conclude, reflect on the joy and satisfaction derived from handcrafting bespoke embroidery designs that transform ordinary bags into personalized treasures. Whether it’s through the exploration of floral motifs, the charm of animal designs, or the precision of geometric patterns, the world of embroidery offers endless possibilities for artistic expression. For further assistance or to share your embroidered masterpieces, do not hesitate to reach out to support-in@mydeardesign.com. Every stitch should show off your creative side, linking old-time skills with modern looks, and keep getting and giving ideas in the lively world of embroidery, folks.
FAQs
- What are ten fundamental embroidery stitches every beginner should know?
- The ten basic stitches that are essential for beginners include: the Running Stitch, the Basting Stitch, the Cross Stitch (also known as Catch Stitch), the Backstitch, the Slip Stitch, the Blanket Stitch (or Buttonhole Stitch), the Standard Forward/Backward Stitch, and the Zigzag Stitch.
- Which embroidery stitch is the simplest for beginners to learn?
- The running stitch is the simplest and easiest embroidery stitch for beginners. It is often used for borders and outlines, and you can easily adjust its appearance by changing the length of the stitches.
- How does one create an embroidery bag?
- [No answer provided in the original input]
- What are five popular types of embroidery?
- ut.e five well-known types of embroidery include Outline Embroidery, Whitework Embroidery, Candle Wicking Embroidery, Patchwork Embroidery, and Shadow Work Embroidery. Common stitches used in these types are the Backstitch, Running Stitch, Straight Stitch, French Knot, Stem Stitch, Chain Stitch, and Satin Stitch.


