10 Simple Henna Mehndi Designs You Can Try Now

Simple Henna Mehndi Designs. Henna is a beautiful and natural way to adorn your body. Although it is typically associated with special occasions like weddings, henna can be used for any occasion – or simply because you feel like it! In this article, we’ll show you seven simple henna designs that you can try at home.
Henna mehndi design #1

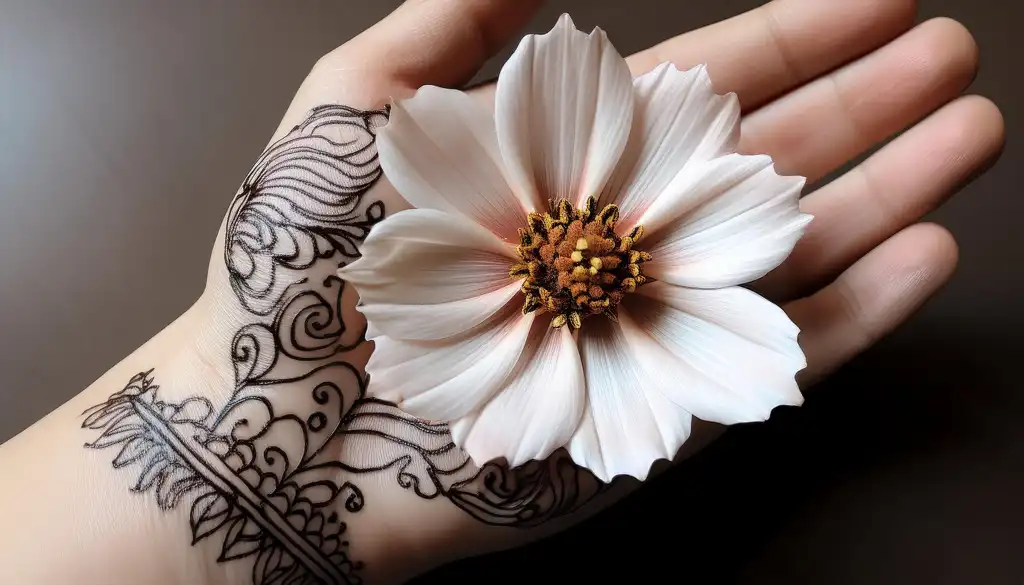
This simple yet elegant mehndi design is perfect for any occasion. It is made up of basic geometric shapes and lines that are easy to recreate.
To create this design, start by making a small dot in the center of your hand. Then, draw a curved line outward from the dot. Next, draw another curved line that intersects with the first one.
Continue drawing lines and shapes until you have created a desired pattern. You can make this design as simple or as elaborate as you want.
Once you are finished, fill in the spaces with henna paste. Allow the paste to dry for several hours before washing it off.
Henna mehndi design #2

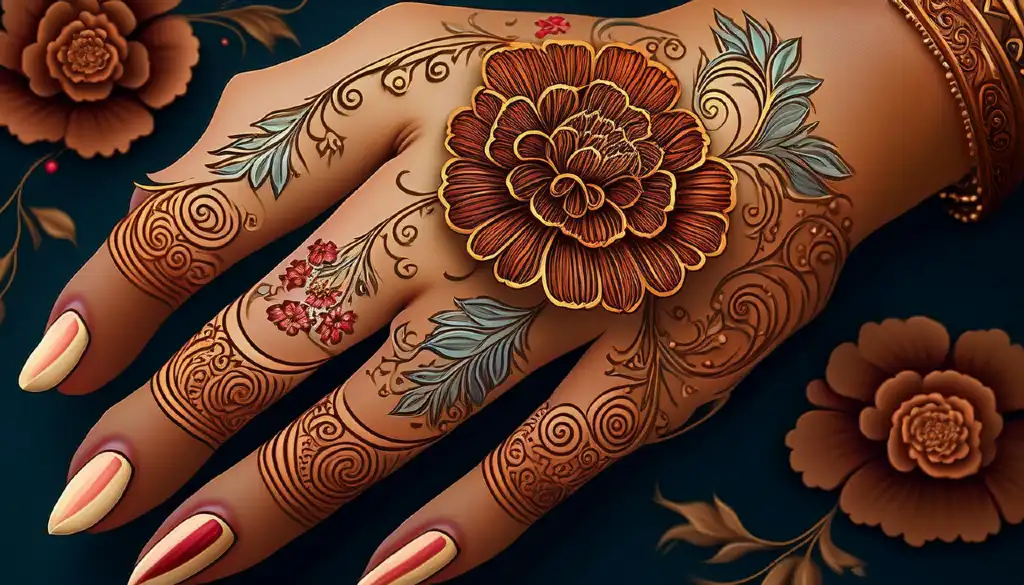
This design is perfect for beginners. It is simple and easy to do. The design consists of basic shapes and lines.
Start by drawing a small circle in the center of your palm. Then, draw a few lines radiating out from the center of the circle. Next, draw a few curved lines around the edge of your palm.
Finally, fill in the spaces with small dots. You can also add a few drops of water to the henna paste to make it easier to apply.
This design can be easily modified to suit your style. You can make the lines thicker or thinner, add more or less curves, and change the size of the dots.
Henna mehndi design #3

This simple mehndi design is perfect for beginners. It consists of a few basic shapes and lines, which can be easily drawn on the skin.
To start, draw a small circle in the center of your palm. Then, draw two curved lines emanating from the circle. These lines should meet at the base of your thumb.
Next, draw a few smaller circles around the first circle. Finally, fill in the spaces between the lines with henna paste. Permit the glue to get totally prior to washing it dry.
Henna mehndi design #4

Henna mehndi is a beautiful and intricate art form that has been used for centuries to adorn the hands and feet of women.
There are many different henna mehndi designs that you can try, ranging from simple to complex.
If you are new to henna mehndi, start with a simple design. When you are alright with that, you can attempt more complicated plans.
Here are four simple henna mehndi designs that you can try now:

1. The Basic Design:Henna Mehndi Designs, This is a very basic and easy design that anyone can do. It consists of a simple line or spiral that goes around the wrist or ankle.

2. The Paisley Design:Henna Mehndi Designs, This design is slightly more complex than the basic design but it is still quite easy to do. It consists of a paisley-shaped motif that is repeated several times around the wrist or ankle.

3. The Floral Design:Henna Mehndi Designs,This design is more complex than the paisley design but it is still quite easy to do. It consists of a floral motif that is repeated several times around the wrist or ankle.
Henna mehndi design #5

This simple henna mehndi design is perfect for beginners. It consists of basic geometric shapes that are easy to recreate.
Start by drawing a small dot in the middle of your hand. Then, draw a curved line that extends from the dot to the edge of your hand. Rehash this step on the opposite side.
Next, draw a few lines that connect the two curved lines. These lines can be straight or curved. Finally, fill in the spaces with small dots.
This design is perfect for those who want to try henna mehndi for the first time. It is simple and easy to recreate. Plus, it can be easily customized to your liking.
Henna mehndi design #6

Simple Henna Mehndi Designs, This simple henna mehndi design is perfect for beginners! It consists of basic shapes and lines that are easy to follow.
To start, draw a small circle in the center of your palm. Then, draw a series of curved lines emanating from the circle. These lines should get progressively larger as they reach the edge of your palm.
Next, fill in the gaps between the lines with smaller dots or shapes. You can also add some embellishments such as beads or sequins if you like.
Once you’re done, let the henna dry completely before washing it off.
Henna mehndi design #7

This simple henna mehndi design is perfect for beginners. It consists of basic lines and shapes that are easy to follow.
Begin by attracting a little circle the focal point of your hand. This will be the base of the design.
Then, draw two curved lines that come out from the sides of the circle. These lines should meet at the top of your hand to form a point.
Next, draw another curved line below the first one. This line should also come out from the sides of the circle and meet at the bottom of your hand.
Finally, fill in the spaces between the lines with small dots or patterns. You can also add embellishments like beads or stones to make your design more unique.
Simple Henna Mehndi Designs
Mydeardesign.com/medium